Anyone that knows me, knows that I don’t cook. Its not like I haven’t tried, but I am just no good at it plus it’s just really not my thing (I know, bad wifey!). Steve came to terms with it long time ago once I burnt a couple of our meals, over salted the macaroni and almost burnt down the house. However, I really like to bake! I think its because I have a giant sweet tooth (thanks Mom!) and anything sweet makes me smile. My gran and my mom always used to bake everything in the house, so I grew up with a big love for baking. Last weekend my friend and I decided to make these cute little Melting Snowman Cookies, which tasted amazing and just look at how precious they look! If I can do it, anyone can do it, so I thought I would share the recipe and some Step-By-Step instructions with you.
Please note I am not food blogger (and don’t plan on being one), and I just wanted to share this fun recipe with you guys for Christmas! 🙂
This is a really fun thing to do with your family, kids or even friends! Alessia and I had so much fun baking them, and then putting them together. It took us the whole day because we watched TV, ordered lunch and messed around during the process, but in actual time it will take about 2 hours. I think these would be so much fun to make with your kid as the “Cookies for Santa” alternative don’t you think?
Here is a list of the ingredients you will need (nothing too outrageous, I promise)
Butter
Castor Sugar
Icing Sugar
Vanilla Essene
Self-Raising Flour
Plain (cake) flour
Milk
Food Coloring
Marshmallows
Baking Paper
Lets start with the biscuits. Those were extremely easy to make as we used a basic Vanilla Butter Biscuits recipe. For the biscuits you will need (makes about 15-16 biscuits)
125g of butter
1/3(80g) castor sugar
1-teaspoon vanilla essence
2 tablespoons milk
¾ cup (115g) self-raising flour
2/3-cup (100g) plain flour
Step 1
Melt the butter a little bit and once it’s softened, mix together with the sugar and vanilla essence. It will make a mass like this, and beat it until smooth.
Step 2
Combine that with the self-raising flour and the plain flour in the bowl. Add the 2 spoons of milk, and don’t be alarmed to use so little of it (I was at first). You really only need 2 spoons, but if you feel like the mixture is too dry, add a 3rd. Mix together (you can do it by hand or with a mixer) until you form a dough texture.
Step 3
Roll the dough into a big ball (you can see I’m not used to writing recipes), wrap it in some Glad wrap(cling wrap) and put into the fridge to chill for 20 minutes. Have a cocktail or a glass of wino while you wait. Preheat the over to 160 while you at it.
Step 4
Once chilled, break the dough into 4 even parts (I found that helps) and roll each part out with a rolling pin. Don’t roll it too thin, as you want the biscuits to be big and yummy.
Step 5
We didn’t actually have a cookie cutter, so we used a glass to cut out little circles (I am very resourceful, clearly). Line your baking tray with baking paper, and space the cookies out evenly.
Step 6
Bake for 18-20 minutes until the top of the cookies starts turning a light brown color (don’t burn them). Take them out and let them cool for 5-10 minutes.
Step 7
Have another glass of wine, because you just baked some delicious cookies.
While we were waiting for the cookies to chill, we made the icing. There are some fancy icing recipes on the Internet, but we just went clean and simple. For the icing you will need
1 Cup Icing sugar
2 spoons of milk
Vanilla essence (as it turns out this is optional, because it makes the color of the icing a little bit dirty, so you will end up with a dirty snowman).
There is really nothing to it, you mix it all together until it forms a smooth texture.
Now my favorite part, the drawing of the snowmen! It might look hard, but really it was so simple. You will need
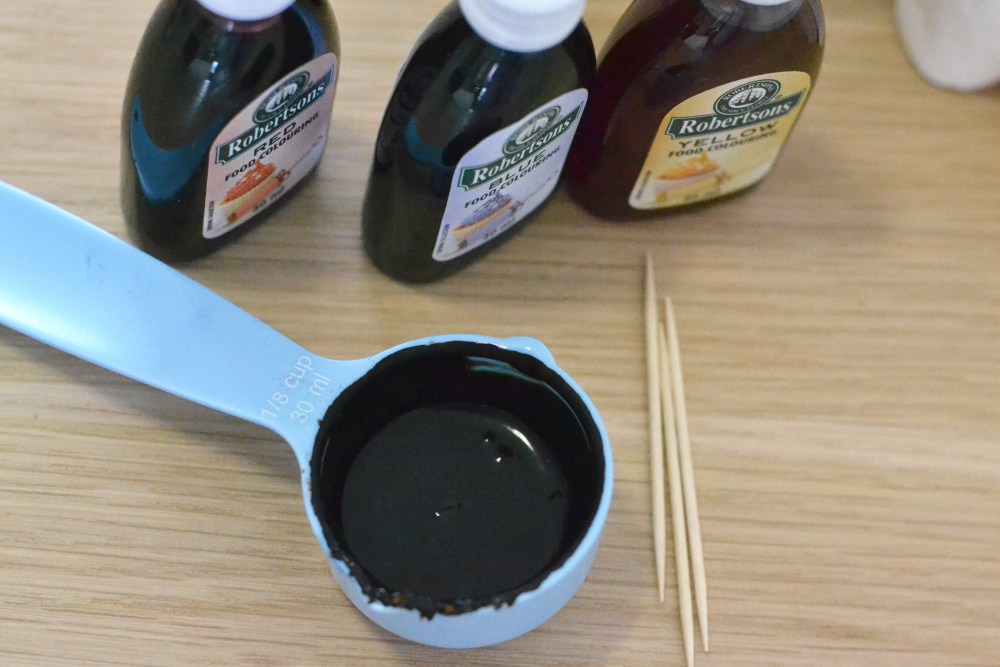
Food coloring– Red, Yellow and Blue (primary colors) and maybe black. We couldn’t find black so we mixed all the colors together and added cocoa powder to make it black (told you, I’m resourceful).
A pack of marshmallows (we got the pink and white pack from Woolies, and ate the pink ones)
Toothpicks
A glass of wine
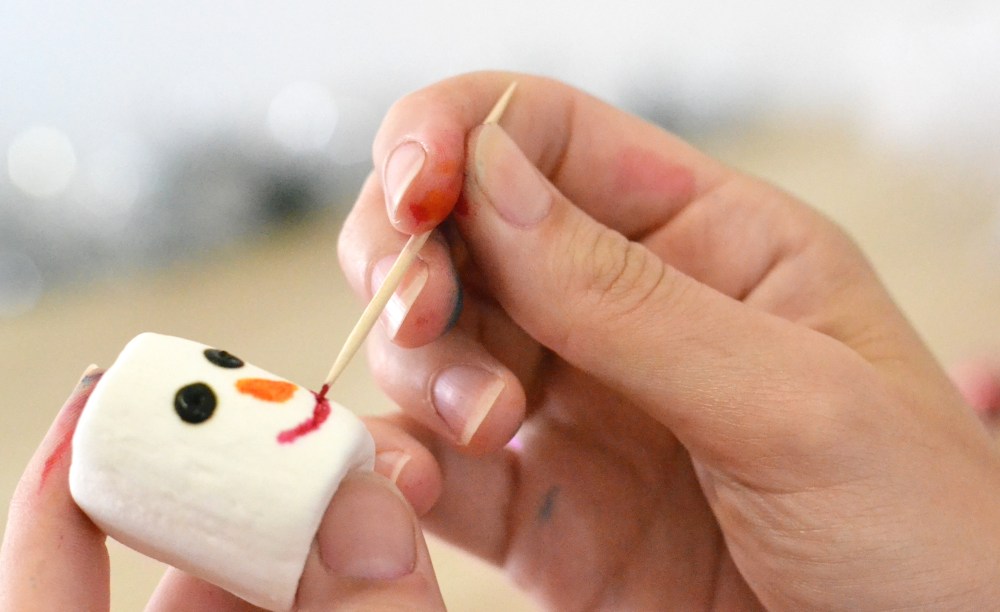
Step 1(please excuse our stained hands, playing with food coloring all day will do that to you).
Dip the toothpick in black coloring (or your own mix as we did) and insert it straight into the marshmallow to draw the eyes.
Step 2
Mix yellow and red together to make an orange and draw a little carrot nose.
Step 3
Using red coloring draw the little smiles. We had a lot of fun with this one as we gave every snowman a different expression! It’s so easy to draw with a toothpick and we have some that look scared, some seem happy about it and some are even winking!
Now that your cookies are chilled, its time to ice them. This is very easy and fun, as you don’t want the icing to be even. You want it to look like the icing is uneven and “running away” so really after 3 glasses of wine you can ice them however you like because they will still look appropriate for this task.
As you ice them, place the snowman heads onto the cookies so they stick to them. Nothing else to it.
Once everyone is iced and has their heads on, let them dry for 5-10 minutes. Have another glass of wine while you wait.
The only thing left to do here is to draw the little red buttons and give them some hands. I used a bigger toothpick here (actually it was a skewer stick) and dipped the one end of it into red coloring to give them nice, round buttons.
Let it dry for a couple of minutes.
Using black coloring again draw the hands, and again you and be as creative as you want to be! I think the one snowman we had was doing a little up and down dance with his hands. So much fun!
And here they are! It really is so easy to make, you just have to have a little patience and lot of wine! This is a great task to do before the holidays with your loved ones and in the end you will end up with these cuties.
Happy baking!


These are just too cute for words, I love cooking but am no good at baking :\ But will try this out for sure! :3 Thanks for the step by step with the awesome pics, simple enough to follow.
These are adorable! I especially like the parts of the recipe that involve wine 😉
XoXo One Stiletto At A Time
Oh my gosh this is so cute! Love this!!!
Adorable and so cute!! Will be Fun for everyone at home 🙂 thank u !